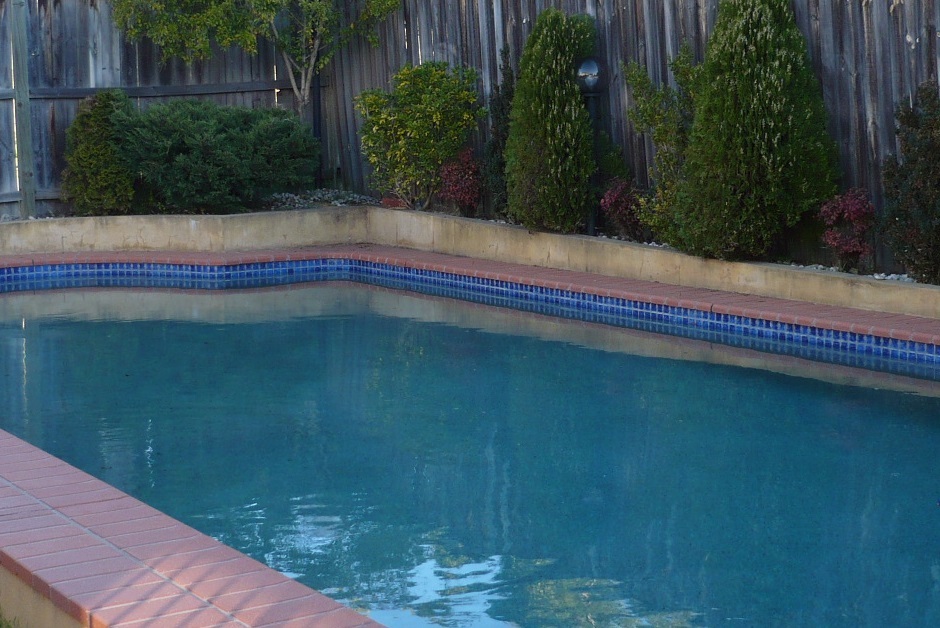
Sensor Locations

To control the pool temperature sensors are needed. The above image shows the sensors I have installed. They are not all needed to control. I decided if I'm building my own controller then why not go all out. The middle pool and roof sensors are all I need to control and the flow was used by the old controller so I may reference that too.
Controlling Pool Pumps
I have worked out the control logic for the pumps.
Below I show sample code sections to give to an idea of my thinking but not the whole program. But this should be useful if you have a similar project.
Cleaning Pump Control
Cleaning/Chlorination plump needs to run AM and PM for between two and 4 hours each time depending on the time of year.The solution requires two schedules to do this I created an array of items as below in Schedule 1 & 2.
Schedule1=['1','06','00','On','09','00','EveryDay'] #Pump1 AM
Schedule2=['1','18','00','On','21','00','EveryDay'] #Pump1 PM
Schedule 1 array values are as follows:
Pump No 1, Start time 06:00, State On, Stop time 09:00, run every day.
Pump No 1, Start time 06:00, State On, Stop time 09:00, run every day.
The code to check the schedule against time and turn on the pump:-
PumpCMD[1] = "Off"
TimeNow = datetime.datetime.now()
TimeNow = datetime.datetime.now()
SC_Start = datetime.time(int(Schedule1[1]), int(Schedule1[2]))
if ((TimeNow.time() > SC_Start) and (TimeNow.time() < SC_Stop)):
PumpCMD[int(Schedule1[0])-1] = "On"
line 1/2 - Initial command value for the pumps is Off
line 3 - Get the current time and date TimeNow
line 4 - Convert the Schedule1 values 1 & 2 to a start time date value
line 4 - Convert the Schedule1 values 1 & 2 to a start time date value
line 5 - Convert the Schedule1 values 4 & 5 to a stop time date value
lines 6/7 - If the time is between the start and stop time turn PumpCMD value On
lines 8/9 - if not turn the CMDPump off this value is used latter to turn on the pump.
Solar Pump Control
Solar pump needs to run during daylight. But it also needs the correct temperature conditions and run for a minimum of time so the pump is not damaged.
1. The system is activated between 09:00 and 20:00 to do this I used the same time control as the cleaning pump. This enables the variable SolarTimeCMD.
#Solar Pump Schedule
TimeNow = datetime.datetime.now()
TimeNow = datetime.datetime.now()
SC_Start = datetime.time(int(Schedule3[1]), int(Schedule3[2]))
if ((TimeNow.time() > SC_Start) and (TimeNow.time() < SC_Stop)):
SolarTimeCMD = True
2. Roof Temp must be 10 DGC higher than the pool temperature.(So the water will be
heated when pumped to the roof).
#Solar Pump variables reset
SolarReady = False
SolarRequired = False
SolarDiffOn = False
SolarPumpRunOn = False
StartSolarPump = False
RunSolarPump= False
SolarTimeCMD = False
if (Temp[1] > (Temp[3]+10)): #1=Roof Temp 3=Mid Pool Temp
SolarReady = False
SolarRequired = False
SolarDiffOn = False
SolarPumpRunOn = False
StartSolarPump = False
RunSolarPump= False
SolarTimeCMD = False
if (Temp[1] > (Temp[3]+10)): #1=Roof Temp 3=Mid Pool Temp
SolarReady = True
3. The Pool temperature must be below the solar setpoint
if (Temp[3] < PoolSP): #3=Mid Pool Temp
SolarRequired = True
4. Once the pump is running it must stay on until it reaches setpoint + differential (This is to stop the pump going off and on too often and trip a breaker)
if (Temp[3] < (PoolSP + PoolSD)) and (PumpCMD[2] == "On"):
SolarDiffOn = True
5. Also it's a good idea to have a minimum pump run time of 5 minutes (Same reason as above)
if (TimeNow.time() < SolarPumpRunOnTime.time()):
SolarPumpRunOn = True
6. If the pump is to be started the SolarpumpRunOnTime is set to current time + 5 minutes.
if (SolarTimeCMD and SolarReady and SolarRequired):
StartSolarPump = True
SolarPumpRunOnTime = TimeNow + datetime.timedelta(minutes = 5)
7. The CMDPump request is finally turned on if all conditions are met
PumpCMD[2] = "On"
else:
PumpCMD[2] = "Off"
else:
PumpCMD[2] = "Off"
8. Latter in the code the Raspberry Pi GPIO is used to turn on a relay that starts the pump.
9. In the actual code there is also a override section to start or stop the pump regardless of the pool conditions.

The controller has now been installed in my pool shed. This is when I realised that having connections bottom and both sides may of been a mistake. I had to make room for the connections at the bottom. I know it looks a mess but I will refine it latter. The pumps are not connected in this picture they plug in the bottom of the unit.

Putting sensors in the pool was tricky. I used a plastic coated garden stake (Used for tomatoes) bent it 90 degrees and cable tied sensors (Water proof 10K NTC with 1.5 meter cables) to it then solders the cable to the sensors and used heat shrink to protect the connections.

This is what it looks like installed the wires and pole are held in the wall expansion then they are threaded under the bricks in a round conduit to the controller in the shed.
Wiring and connections
The controller requires internet (Well it doesn't really need it but I wanted to connect the controller to the network and run a web site from it). The problem is WIFI does not work well through a metal shed so I had to find another way. I used PowerLine plug in modules from D-Link and they work a treat sending Ethernet over my electrical power supply.
The controller has now been installed in my pool shed. This is when I realised that having connections bottom and both sides may of been a mistake. I had to make room for the connections at the bottom. I know it looks a mess but I will refine it latter. The pumps are not connected in this picture they plug in the bottom of the unit.

Putting sensors in the pool was tricky. I used a plastic coated garden stake (Used for tomatoes) bent it 90 degrees and cable tied sensors (Water proof 10K NTC with 1.5 meter cables) to it then solders the cable to the sensors and used heat shrink to protect the connections.

This is what it looks like installed the wires and pole are held in the wall expansion then they are threaded under the bricks in a round conduit to the controller in the shed.